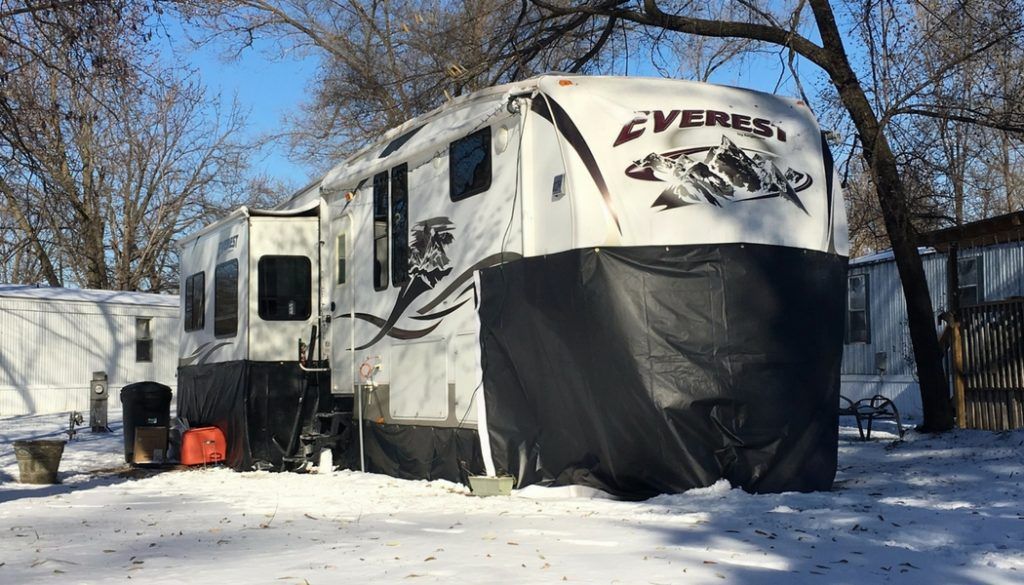
Preparing Your RV for Winter? Here’s Your Step-by-Step Checklist

As the cold months approach, it’s time to think about. Properly preparing your recreational vehicle is crucial to protect it from harsh winter weather and ensure it’s ready for adventure when the warmer months return. This blog will guide you through a comprehensive checklist for winterizing your RV, ensuring you won’t overlook any essential tasks. Let’s get started!
Why Winterizing Your RV is Important
Winterizing your RV prevents damage caused by freezing temperatures and moisture. Water left in your plumbing system can freeze, causing pipes to burst. Additionally, neglecting your RV during winter can lead to mold, mildew, and rust. By following a systematic winterizing RV checklist, you can avoid costly repairs and ensure your RV stays in great condition.
Step 1: Gather Your Supplies
Before you begin, make sure you have all the necessary supplies. Here’s a quick list for your checklist for winterizing RV tasks:
- Antifreeze (non-toxic RV-specific)
- Water heater bypass kit (if not already installed)
- Water pump converter kit
- Hose and fittings for flushing
- Bucket
- Clean water for rinsing
- Soft cloths for cleaning
Having everything ready will streamline the process and make it more efficient.
Step 2: Drain the Water System
Start by draining your water system to prevent freezing. Follow these steps for your winterizing RV checklist:
- Turn off the water heater and let it cool.
- Open all faucets, including the shower and outside sprayers. This will help release pressure.
- Drain the fresh water tank by opening the drain valve.
- Flush the toilet to empty the black tank and add a bit of water to help with winterization.
- Locate and open the low-point drain valves to let any remaining water out.
This step is vital in ensuring no water remains in the system.
Step 3: Bypass the Water Heater
Bypassing the water heater saves you money on antifreeze. Here’s how to do it:
- Locate the water heater in your RV.
- Install the bypass kit if not already done.
- Follow the kit instructions to ensure proper bypassing.
Bypassing prevents antifreeze from entering the water heater, keeping your process efficient.
Step 4: Add Antifreeze to the System
Now, it’s time to protect your plumbing system with antifreeze:
- Connect the water pump converter kit to the inlet of your water pump.
- Pour the RV antifreeze into the bucket and place it on the floor.
- Turn on the water pump and open each faucet until you see antifreeze flowing.
- Don’t forget the toilet and shower!
Ensure you use non-toxic RV antifreeze, which is safe for your plumbing system.
Step 5: Check and Clean the Roof
Your RV’s roof is a critical area to inspect as part of your winterizing RV checklist:
- Climb up and check for any cracks or damage.
- Clean the roof using a soft brush and RV-safe cleaner.
- Seal any openings with roof sealant to prevent leaks.
A well-maintained roof is essential for protecting your RV from the elements.
Step 6: Protect the Exterior
Taking care of the exterior is crucial for maintaining your RV’s condition:
- Wash and wax the RV to protect the paint.
- Inspect seals and seams around windows and doors.
- Apply protective covers for the tires and entire RV, if possible.
This will help shield your RV from snow, ice, and UV damage.
Step 7: Winterize the Battery
Batteries can suffer in cold weather, so it’s essential to take care of them:
- Disconnect the battery and remove it from the RV.
- Store it in a cool, dry place above freezing temperatures.
- Charge the battery periodically throughout winter to keep it healthy.
This step will help prolong your battery’s life and ensure it’s ready for use come spring.
Step 8: Indoor Preparation
Don’t forget about the inside of your RV. Follow these steps to prepare as part of your checklist for winterizing RV:
- Empty the refrigerator and freezer, and clean them thoroughly.
- Remove any food items to prevent pests.
- Clean and vacuum all surfaces to avoid mold and mildew.
- Leave cabinets open to allow airflow.
A clean interior will ensure you’re ready to hit the road as soon as the weather warms up.
Step 9: Cover Vents and Openings
Prevent pests and cold air from entering your RV by covering vents:
- Install vent covers to protect against snow and ice buildup.
- Use vent cushions to block drafts and keep warmth in.
These small steps can make a significant difference in preserving your RV’s interior.
Step 10: Inspect Tires and Chassis
Tires and the chassis need special attention during winterization:
- Check tire pressure and inflate them to the recommended levels.
- Cover the tires to prevent UV damage and cracking.
- Inspect the chassis for any signs of rust or wear.
Taking care of these elements ensures your RV remains safe and ready for the road.
Step 11: Document Your Winterization Process
It’s helpful to keep a record of the winterization steps you’ve completed:
- Create a checklist of tasks.
- Note any repairs needed for the spring.
- Keep receipts for any supplies purchased.
This documentation will be invaluable when you prepare your RV for the next season.
Conclusion
Winterizing your RV is a crucial task that protects your investment and ensures it’s ready for future adventures. By following this checklist for winterizing your RV, you can feel confident knowing that your RV is well-prepared for the cold months ahead. If you have a boat, consider following a similar winterizing boat checklist to keep it in good shape as well. With the right preparation, you can look forward to many more enjoyable when spring arrives!
For additional help with RV storage or winterizing services, feel free to contact St. Louis RV Storage at or visit us. We are here to assist you with all your RV needs!